When it comes to synthesizer plugins, Omnisphere is undoubtedly one of the most desired by music production professionals, due to its versatility and because it is very complete, it is practically the ultimate tool, dreamed by everyone, capable of transforming almost any DAW into an impressive working instrument.
Omnisphere is a VST plugin designed by the company Spectrasonics. It works in a mixed way, as a sampler, and as a multi-synthesizer at the same time, being very powerful due to the wide range of tools it has and its extensive library of sound effects. This software is considered to be one of the most powerful synthesizers on the market.
Also see: How to get reFX Nexus VST plugin for FL Studio 20
Frequently, many people ask, Does Omnisphere come with FL Studio? And the quick answer is: No, it does not. This plugin is not included as native FL Studio software.
However in this post, we will show you how to get it, so read on to learn how to get it.
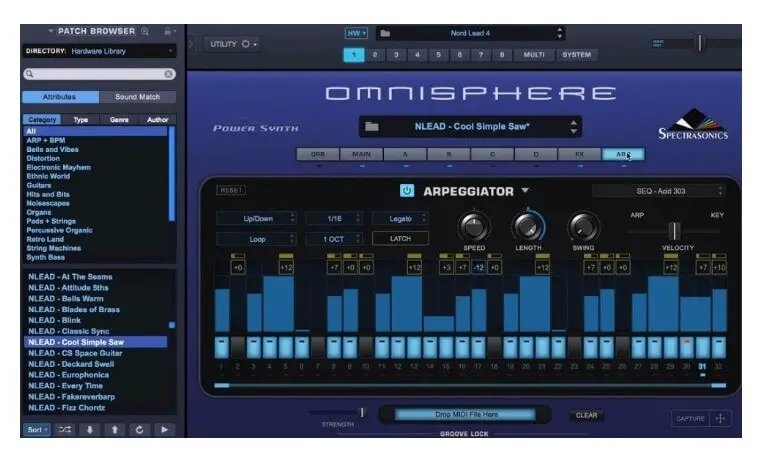
Table of Contents
Where to find Omnisphere 2
Omnisphere is not freeware and the only legal way to enjoy its benefits is to purchase it. This VST plugin is only sold by their network of authorized distributors under license from Spectrasonics.
So you must make sure to buy it only from official sites to avoid any inconvenience, as they provide you with all the guarantees as a consumer.
For getting Omnisphere you must first purchase the license from Webstore/Techshop and then run the Download Manager provided by their website to download it.
Omnisphere is absolutely well worth the money. It is composed of 3 versions, the full product, and two updates:
- Atmosphere: Recommended for all those who have this version of the plugin and want to upgrade to the latest version of Omnisphere. Its price is $249.
- Omnisphere 1: Upgrade the plugin from version 1 to Omnisphere 2. Priced at $249.
- Full Edition: Offers the full version of the product and costs $499.
Go to the official site:
It is important to mention the team that worked on the creation of Omnisphere is the same that developed the famous plugins Keyscape, Trilian, and Stylus RMX Xpanded. So this is a company with a lot of experience and prestige in the music industry.
Also see: How to get FLEX VST plugin for FL Studio
Omnisphere features
- It can be used as Standalone application or associated with a DAW.
- It consumes a lot of resources and you will need a good pc with a lot of CPU power and at least 8 GB of RAM.
- It is more demanding when using Multis.
- Requires 64-bit hosts.
- The complete plugin occupies 64 GB of storage at least, so 128 GB free is recommended.
- Its library has more than 13k sound effects and is amazing.
- It is difficult to use and can be overwhelming for beginners.
- It is available for Windows and macOS.
- Its official price is very high.
How to install Omnisphere 2
- Go to the folder where Omnisphere 2 has been downloaded.
- Run the installer as administrator (setup.exe).
- Click continue and accept the legal conditions displayed in the installation window.
- Choose the 32-bit or 64-bit version of Omnisphere (it depends on your DAW).
- Choose the final installation path where you have hosted all your plugins and click install.
- Be patient, the process may take a long time.
- Finally, run the VST plugin on your host and authorize it.
I recommend you to go to their site where the guide will show you step-by-step the authorization process.
How to open Omnisphere on FL Studio 20
Putting Omnisphere 2 into FL Studio 20 is very simple:
1- First, you must have the VST plugin installed on your PC. The open FL Studio 20 and go to Options. Later go to the Files tab and run Manage Plugins.
2- Now a window will open and click on Find plugins. Later you must choose Omnisphere 2 from the plugins list and set it as favorite. Now it is ready to load it as VST.
3- After that, the plugin will be associated with FL Studio, so you can use Omnisphere 2 from the DAW.
4- Finally, in order to load it as a VST on FL Studio, just add it into the Channel Rack as a regular plugin.
5- That’s it!
If Omnisphere does not appear in the plugin list you have to add it from the path where all your VST plugins are installed on your local disk.
If any doubt, watch this video on how to add plugins to FL Studio.
Omnisphere 2 alternatives
Here is a collection of synthesizer plugins similar to Omnisphere 2. Most of these are paid, but there are some free alternatives to Omnisphere, so it’s a good opportunity for you to have other interesting options at hand.
Of course, there are many more plugins on the market, but this list is a good starting point:
- Nexus 3
- Serum
- Synthmaster One
- Kontakt 6
- Absynth 5
- u-he Synths Bundle
- Dune 3
- Samplv1
- Roland Cloud
- Dexed
- Korg Legacy Collection
- Padthv1
- Arturia V6 Collection
- Electra X
- Arturia Pigments 2
- Vital
Also see: Best open source DAWs - free alternatives to FL Studio
Final thoughts
I want to advise you that in order to have all your VST plugins organized and make the installation process (when necessary) easier, it is very important to have them all placed in the same folder.
This will make all the installation plugins process easier for you in the future.
Also always try to make sure that the bit version of Omnisphere is exactly the same as your Digital Audio Work Station so that no incompatibility errors occur.
If the version of FL Studio you are using is 64-bit make sure that the plugins are also the same bit version. The same applies to 32-bit plugins.